Thursday 30 October 2014

Newtons Nook Christmas Card

Hello!
Here with a cute holiday card, with some adorable stamps from Newton's nook. Another shaker card! I bought some sequins for the first time ever and felt the need to make another shaker card. Sadly my picture taking skills does not do the card justice. Would like to contribute my card to Newton's Nook - add sparkle challenge. Which was not a challenge at all for me as I'm usually not finished a card until there's some form of glitter on it.
Inky Paws Challenge #15 - Add a Little Sparkle - Newton's Nook Designs


Supplies:
Stamp set: Newton's Holiday Mischief by Newton's Nook

Sequins by Fancy Pants
Silver Stikles by Ranger 
Old olive card stock by Stampin up
Old olive ink by Stampin up
Bashful blue ink by Stampin up
Pool part ink by Stampin up
Wild hare ink by Color box
Acetate that I purchased from a local craft shop.

Hope you enjoyed my card , thanks for looking!

Sunday 26 October 2014

DIY coffee filter flowers

Back again with a DIY project this time. An idea I found on Pinterest of course and wanted to make it for around the house. There are tutorials on pinterest of coffee filter roses as well but these were crazy easy and I like the look of them.
I tried to take pictures as I went along to show the way I found the easiest for me.
Here are the flowers all done. I put them in a really simple dollar store vase and wrapped a small piece of lace around it.
Supply's needed. Pipe cleaners,(I used all sparkly silver),glue gun,wooden sticks (they are just skewers you would use to make kabobs), floral tape and the paint is optional but I used silver enamel glitter paint.
 Ok so how to: Fold coffee filters in half and cut some of the top for size of flowers you want. I used about 10 to 12 to make the flower full.

 Fold them in half again , kind of in a cone shape so that you cut a tiny hole in the bottom for the pipe cleaner to go through.
 Slide the pipe cleaner through the hole and hot glue it on the coffee filters. You could also choose to hot glue the wooden stick instead of the pipe cleaner at this point. I tried it both ways and found this way the easiest.
 At this point you want to start scrunching each coffee filter upwards. You may have to hot glue the coffee filters 1 or 2 more times through the bunch as not all the filters are secure to the pipe cleaner. I started by folding the filters in half on the pipe cleaner and scrunching one filter up at a time.
 This is about half the filter scrunched up.
 Just continue until they are all scrunched upward and you achieve the look you want.
 I kinda pinched the very end of the flower at the pipe cleaner to make in narrow and simply slid the stick in beside the pipe cleaner. I secured it with scotch tape first.
 And then wrapped floral tape around it.
 Then simply start wraping the pipe cleaner around the stick. You will have to add 1 or 2 more as you go as 1 wasn't long enough.
 The stem all wrapped up. And your flower is all done at this point or you can add color or sparkle if you choose.
I added some of the silver glitter paint just on the tips of 2 of the flowers and left 2 completely white.
 Here is a picture of a flower that some glitter was added to.
And the flowers completely done in a vase. They turned out kinda cute:) 


Hope you enjoyed. Thanks for looking!:)

Kraft card

Hello!
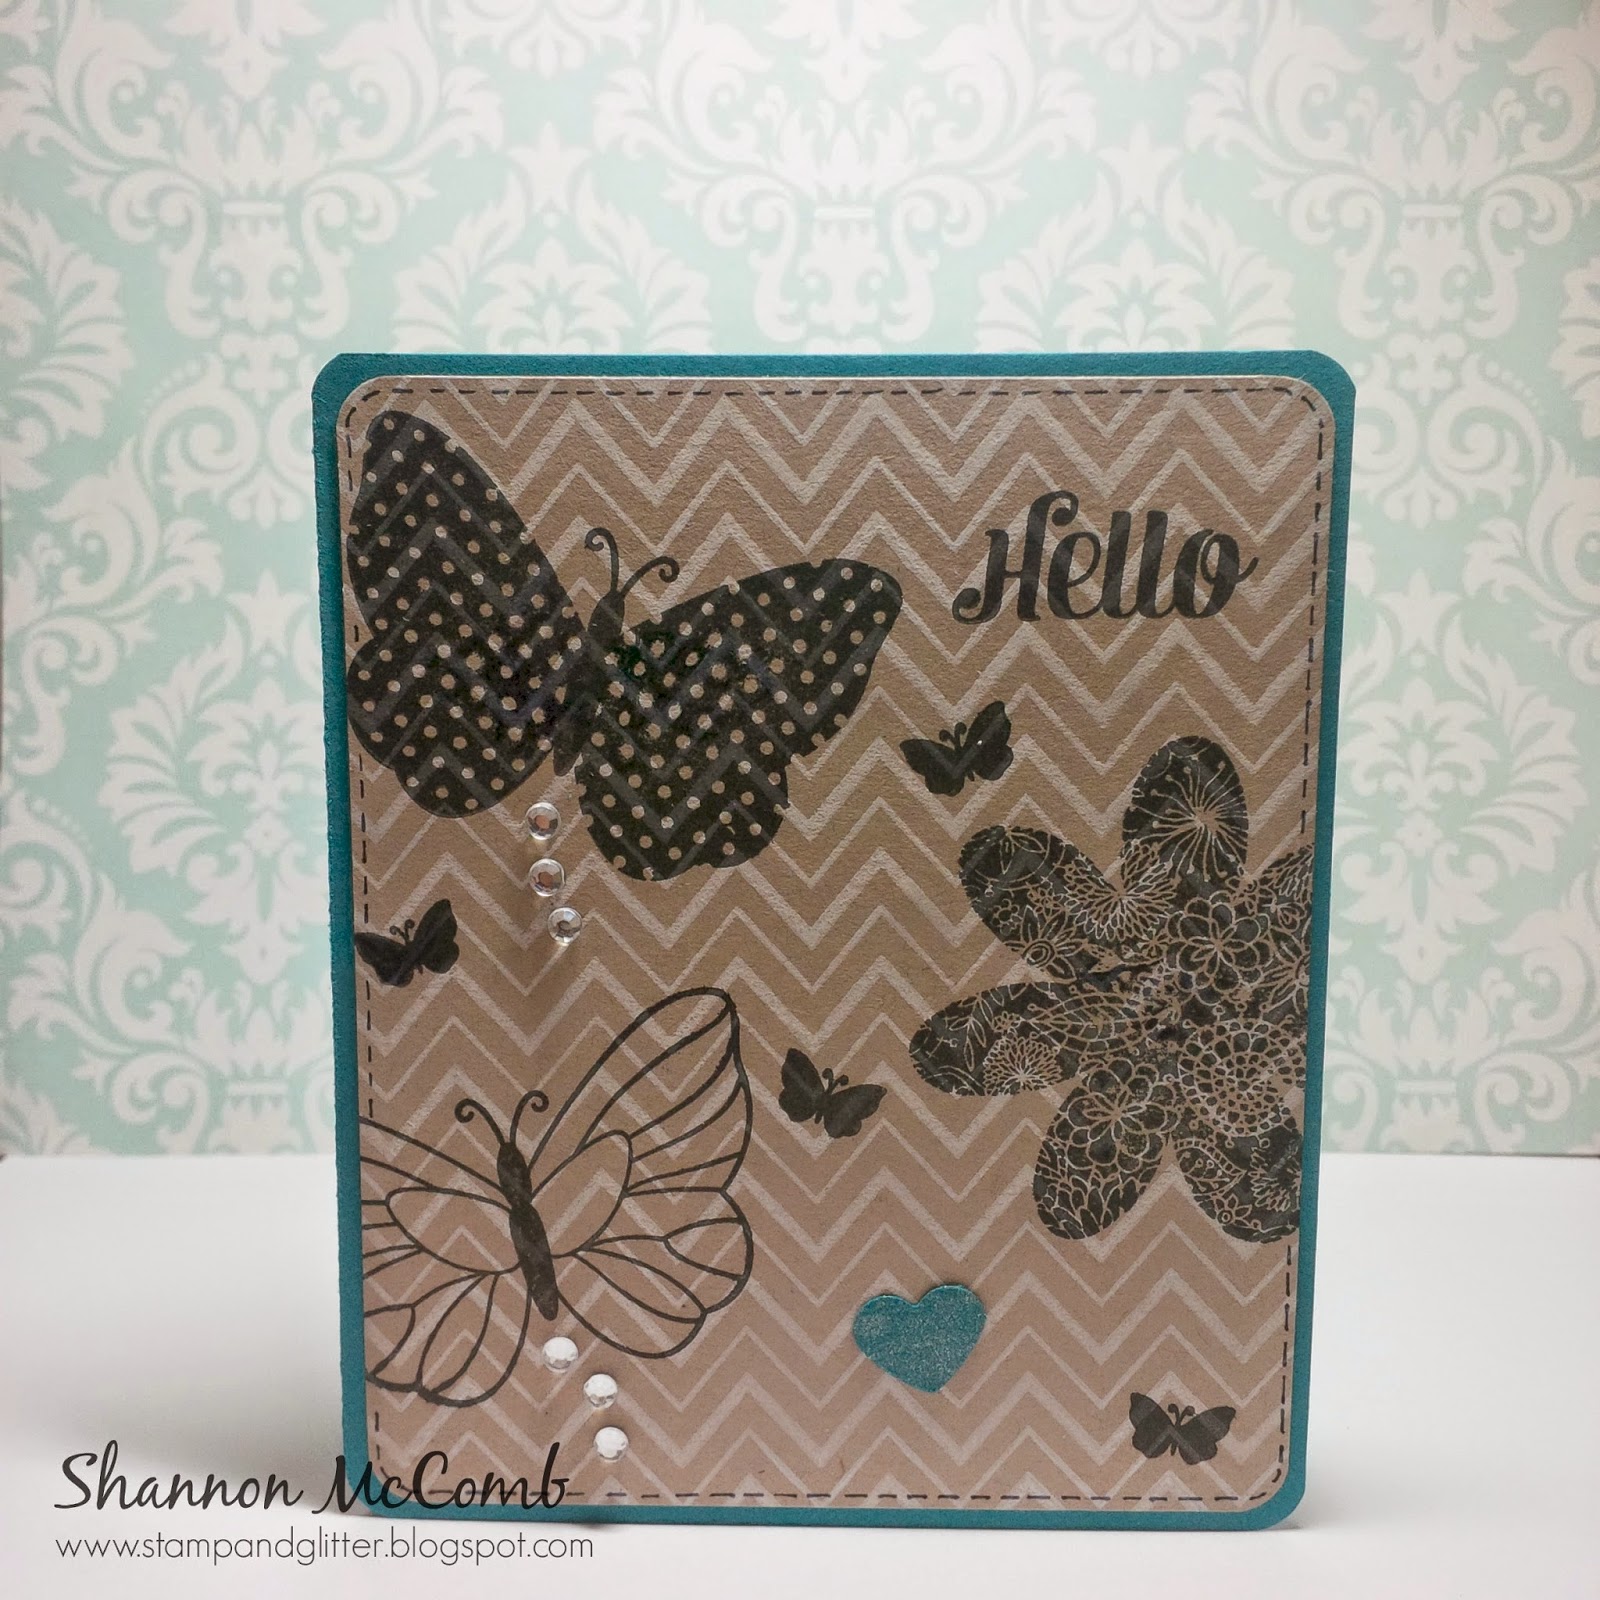
Hope you all had a lovely weekend with plenty of crafting!:) Here today to contribute to the Simon Says Stamp kraft challenge. The challenge is to craft with kraft colored paper.
Here is my creation
The black ink on top of kraft paper kind of reminds me of sepia.
I used kraft card stock from Stampin up and Island Indigo card stock from Stampin up as well. I also used the wink of stella glitter pen on the heart accent which the picture doesn't pick up well. 
Stamp sets:
Butterfly and Flower by Hero Arts
Hooray by Hero Arts (Hello)
Zig Zag cling by Hero Arts

Thanks for stopping by!:)

Tuesday 21 October 2014

Friendship card

Hello all!
Wanted to share a simple but cute friendship card using a Lawnfawn stamp set, I have had this stamp set for as bit now but just recently gotten around to using it. Love this stamp set as I do every other lawn fawn set:)
All the coloring is done with Copics.
I added glossy accents to make the heart pop out on the pot but you cant see it in the picture:(

Stamp set:
Our Friendship Grows by Lawn Fawn

Copic Markers:
Y13 Y11 E55 E33 E57 YG03 YG63 R29 C3

Twine: Stampin up
Card stock: Pistachio pudding by Stampin up

Sunday 19 October 2014

DIY Wedding - Bridesmaids gifts

So as I mentioned in an earlier blog post, I got married this summer and spent a lot of time crafting for it. I made almost everything my self and wanted to share, as I realized how huge the wedding industry is and their might be other crafty brides that may be interested in how easy making some things for your wedding can be. I have a whole lot that I made and will share so maybe ill post one a week or so. I will say like most brides now a days I got 99.9% of my ideas from Pinterest. What a wonderful thing Pinterest is. Anyways although i got the majority of my ideas off Pinterest I put my own spin on things or changed it around for my color scheme.
First thing to share is the boxes I made for my bridesmaids gifts.
Really, really easy, not much assembly at all. The boxed i bought at Michaels (I found them at the end of the wedding isle closer to baking supplies) they were about $1.50 each. I got 6, 5 for my bridesmaids and 1 for my flower girl ( I did something different for my Maid of Honor)
I simply printed 
"Thank you for being my bridesmaid" on card stock and then cut it with my paper trimmer slightly smaller then the box. They came with foam pieces inside which I kept in to elevate it. Just cut 2 slits on the side to have the necklace stay put.
The top part I just cut normal wrapping ribbon and taped in the inside, curled a few pieces with scissors and made the tags with circle punches I have. 


Ps sorry for the yucky background of the pictures , it is my craft desk which is fairly scratched up lol.

Winter shaker card featuring Lawn Fawn

Hello! Here with a holiday card today! Lawnscaping is having a Facebook inspiration team design team call, and as I love taking part of the Lawnscaping challenge's I thought it would be a wonderful opportunity so of course I have to give it a try:)


I made a shaker card, in the in side i used mica flakes by Stampin up. Sadly because of the lighting you can see the foam strips i used in the background in order to elevate it to put the flakes in but I still it still captures the card:)

And a close up

And i took a picture of it lying flat so you can see all the flakes inside.

Stamp sets:
Sweet Christmas by Lawn Fawn
Making Frosty Friends by Lawn Fawn (background snow flakes)

Mica flakes: Stampin up
Smokey Slate cardstock: Stampin up
Bashful Blue ink pad: Stampin up
The acetate for the window is sold in sheets at a local craft store
& they white shimmer paper and silver glitter paper used for the hills are from Michaels.

Thanks for looking:)


Wednesday 15 October 2014

Cute Halloween Card.

Hello! 
Decided to share a real simple mini card set I made. I just simply wanted to use all the stamps in this adorable stamp set so did the same design for 4 different occasions.

This cute Halloween kitty one is for the Simon Says Stamp challenge: O is for.... My O here is of course for October which reminds me of Halloween and pumpkins, and well they kitty just add cuteness:)


Stamp set is Wagon of Wishes by Newton's Nook

Monday 13 October 2014

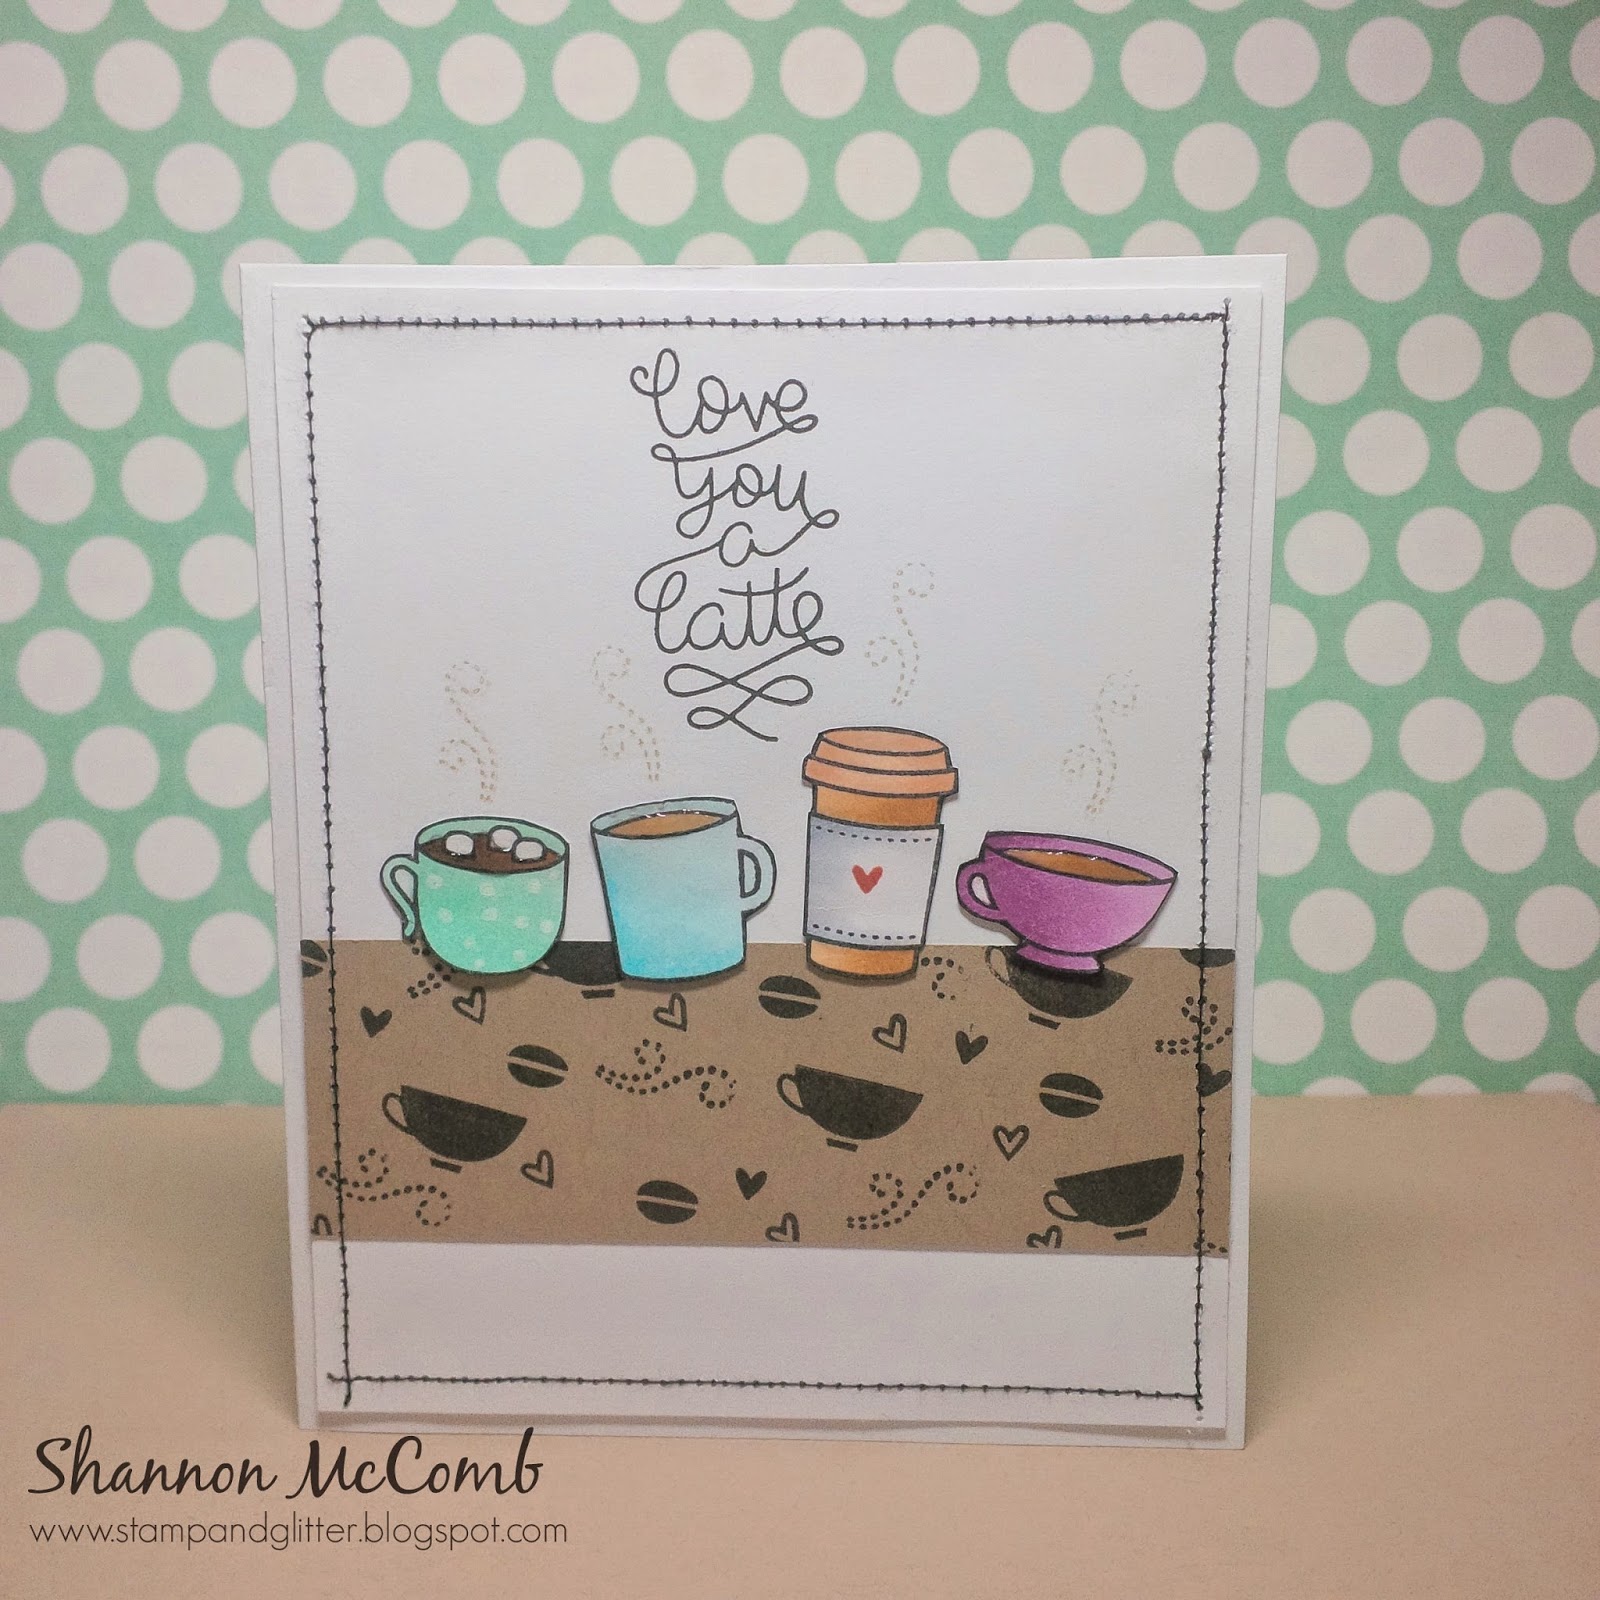
Love you a latte - Lawnscaping patterned paper challenge

Hello again:)
I decided to do another card for the Lawnscaping patterned paper challenge because I had so much fun with the first card I made for it. Using the exact same stamp set but in entirely different non holiday kinda way! And again made my own patterned paper:) 


Supplies:
Stamp set: Love You a Latte by Lawn Fawn

Crumb Cake Cardstock by Stampin up
Versafine Ink in Onyx Black
Memento Tuxedo Black Ink
Crumb Cake Ink by Stampin up
Glossy Accents


Saturday 11 October 2014

Baby Boy Owl Card

Here with a baby card I made for a friend back in April or May and just getting around to sharing it now. Her theme of the nursery was owls so I thought it was only appropriate to make an owl card. This owl is too cute. I used the Create a Critter Cricut cartridge for the owl and branch. The stamp set I used to make a tone on tone background which with my lovely picture taking skills you can't really see in these pictures.


Supplies:
Cardstock:
Bashful Blue by Stampin up
Costal Cabana by Stampin up
Certainly Celery by Stampin up
Chocolate Chip by Stampin up

Ink:
Certainly Celery by Stampin up (for shading of leave)
Bashful Blue by Stampin up (for background)

Stamp set:
Tiny Ray of Sunshine by Simon Says Stamp (both background and sentiments)

Little owl critter is from Create a Critter Cricut cartridge.


Hope you enjoy my baby owl card , thanks for stopping by! 

Thursday 9 October 2014

Lawnscaping patterned paper challenge.


Hello!!
It has been forever since I blogged! I got married this summer and it seemed that my life consisted of planning and crafting for the wedding! Now that its over, its been great getting back in to crafting for myself! I've been behind on newer stamp sets and recently bought 2 new ones to get me back in the game:). One of them being the stamp set below from Lawn fawn which I have played with to enter into the Lawnscaping challenge, which is to use pattern paper or make your own, as you can see I made my own with some Lawn Fawn stamps.


Supplies:
Punch folded cards by Hero Arts
Green chevron ribbon from May Arts
 Stamp sets:
Making Frosty Friends by Lawn Fawn (background snow flakes)
Love you a latte by Lawn Fawn
Copic Markers:
C3 R35 B00 B0000 E57 and colorless blender

Thanks for stopping by!!!